Asphalt shingle installation is an essential for ensuring the durability and efficiency of your roof. This article will guide you through the process, providing practical insights and advice to make your project successful.
Key Takeaway

- Asphalt shingles are a popular roofing material due to their durability and cost-effectiveness.
- Proper installation is crucial for the longevity of your roof.
- The process involves preparing the roof, installing underlayment, placing starter shingles, and adding ridge shingles.
- Regular maintenance and inspections can extend the lifespan of your shingles.
Understanding Asphalt Shingles
What Are Asphalt Shingles?
Asphalt shingles are a type of roofing material made from a base of either fiberglass or organic felt, coated with asphalt and topped with mineral granules. They are known for their durability, affordability, and ease of installation, making them a popular choice among homeowners.
Benefits of Asphalt Shingles
- Cost-effective: Generally cheaper than other roofing materials like metal or slate.
- Durable: With proper maintenance, they can last up to 25-30 years.
- Variety: Available in a range of colors and styles to match any home.
- Easy to Install: Suitable for DIY projects and professional installations alike.
Preparation for Installation
Assessing the Roof
Before starting, ensure your roof is structurally sound. Look for any signs of damage or wear that may need repair. This initial step is crucial in preventing future problems.
Gathering Materials and Tools
- Asphalt shingles
- Roofing nails
- Underlayment: Felt or synthetic materials
- Starter shingles
- Ridge shingles
- Hammer
- Utility knife
- Chalk line
- Measuring tape
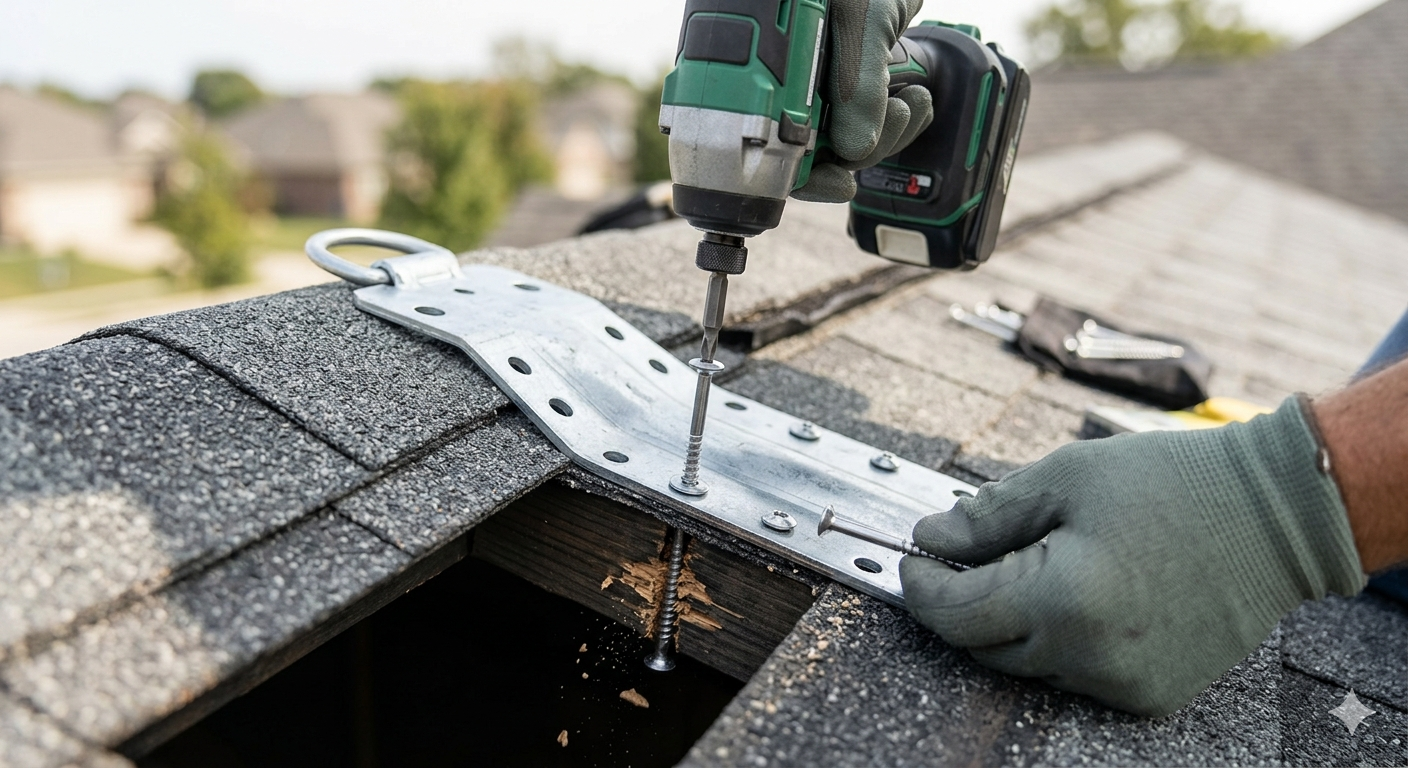
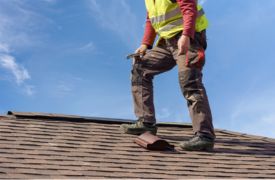
Safety First
Always prioritize safety. Use proper gear like safety harnesses, sturdy ladders, and roof brackets to prevent accidents.
Step-by-Step Installation Process
1. Preparing the Roof Deck
Start by removing any old shingles and ensuring the roof deck is clean and dry. Replace any damaged decking to create a solid foundation for the new shingles.
2. Installing Underlayment
Next, lay down the underlayment. This layer acts as an additional barrier against water. Roll it out horizontally starting from the edge, overlapping each row by about 2 inches.
3. Adding Drip Edge
Install drip edge flashing along the eaves and rakes. This metal strip directs water away from the roof edges, preventing damage.
4. Placing Starter Shingles
Place starter shingles along the edges of the roof. These shingles protect the first row of regular shingles from wind and water damage.
5. Installing Field Shingles
Begin placing the field shingles from the bottom edge of the roof, working your way up. Follow the manufacturer’s instructions for nailing and overlapping. Use a chalk line to keep rows straight.
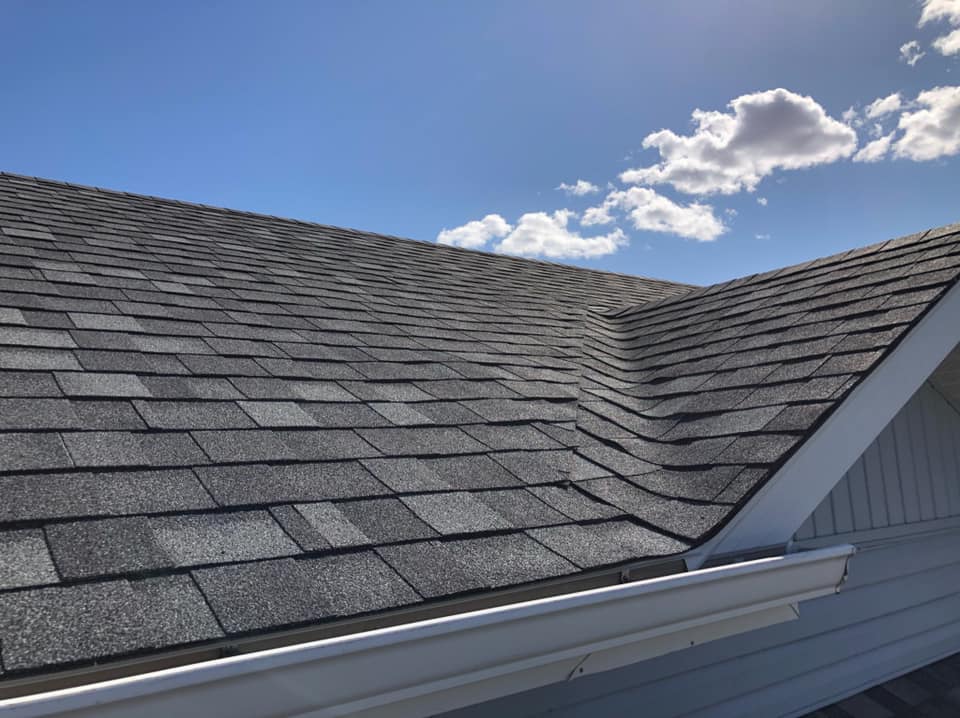
6. Adding Ridge Shingles
Finish the installation with ridge shingles at the peak of the roof. These shingles protect the ridge line from water infiltration.
Recommended Overlapping for Shingle Rows
| Shingle Type | Overlap (inches) |
|---|---|
| Starter Shingles | 4 |
| Field Shingles | 5-6 |
| Ridge Shingles | 2-3 |

Common Mistakes to Avoid
Overlooking Roof Ventilation
Proper ventilation is crucial to prevent moisture buildup and prolong the life of your shingles. Ensure your roof has adequate intake and exhaust vents.
Incorrect Nailing
Use the correct number of nails per shingle (usually four) and place them in the designated areas to avoid future issues like shingles blowing off.
Skimping on Materials
Invest in high-quality shingles and underlayment. Cutting corners on materials can lead to costly repairs down the line.
Maintenance Tips
Regular Inspections
Inspect your roof at least twice a year, in spring and fall, to catch any issues early. Look for signs of damage like missing shingles or granule loss.
Cleaning Gutters
Keep gutters clean to prevent water from backing up and damaging the shingles. Remove leaves, debris, and other blockages regularly.
Dealing with Algae and Moss
Algae and moss can damage asphalt shingles over time. Use a mixture of water and bleach to clean these off, and consider installing zinc or copper strips to prevent future growth.
Common Causes of Asphalt Shingle Damage
| Cause | Prevention Methods |
|---|---|
| High Winds | Proper nailing and use of starter shingles |
| Ice Dams | Ensure proper attic insulation |
| Algae/Moss Growth | Regular cleaning and preventive strips |
| Poor Ventilation | Install adequate roof vents |
| UV Exposure | Use high-quality shingles with UV coating |
FAQs
What Is the Lifespan of Asphalt Shingles?
Asphalt shingles can last between 20-30 years, depending on the quality of the materials and the installation.
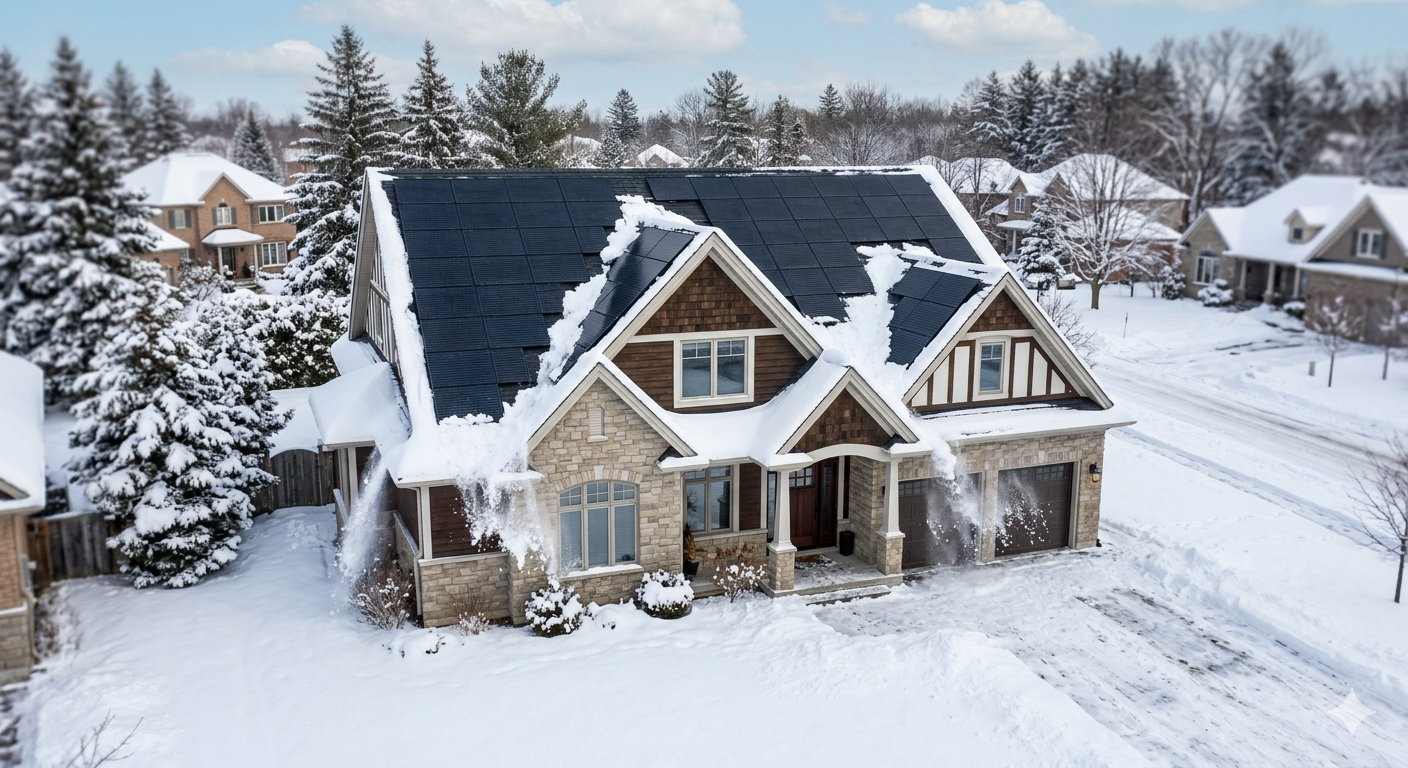
Can You Install Asphalt Shingles in Cold Weather?
It is possible, but not recommended. Shingles become brittle in cold weather, making them more prone to cracking. Ideally, install shingles in temperatures above 50°F (10°C).
How Much Does Asphalt Shingle Installation Cost?
Costs vary based on the size of the roof and the quality of the shingles. On average, homeowners can expect to pay between $5,000 and $10,000 for a complete installation.
Signs You Need a Roof Replacement
Curling or Buckling Shingles
Shingles that are curling or buckling are a clear sign that your roof needs attention. This could be due to old age or improper installation.
Frequent Leaks
If you notice frequent leaks, despite repairing them, it may be time to consider a full roof replacement.
Granule Loss
Finding granules in your gutters is a sign that your shingles are deteriorating and need replacement.
Sagging Roof Deck
A sagging roof deck indicates structural issues that require immediate attention.
Here are some data-driven facts about effective strategies for asking, with hyperlinked sources:
- Using open-ended questions can encourage more detailed and thoughtful responses. According to a study by Harvard University, open-ended questions lead to more meaningful conversations and better understanding.
- Asking follow-up questions is an effective way to gather more information and clarify understanding. A study by the University of Michigan found that follow-up questions lead to better comprehension and more productive discussions.
- Using active listening techniques, such as paraphrasing and summarizing, can help ensure that you understand the information being provided. Research by the University of Minnesota suggests that active listening improves communication and builds trust.
- Framing questions in a positive and respectful manner can encourage more open and honest responses. A study by the University of California, Berkeley, found that positive and respectful questioning leads to better engagement and cooperation.
Conclusion
Installing asphalt shingles is a practical and efficient way to protect your home. By following these guidelines and properly maintaining your roof, you can ensure it remains in excellent condition for years to come. Remember, proper installation and regular inspections are key to extending the lifespan of your asphalt shingles.
Further Reading
- Roofing Material Comparisons: Compare asphalt shingles with other roofing materials and make an informed decision.
- DIY Roof Repair Tips: Learn how to fix minor roofing issues yourself.
- Seasonal Roof Maintenance: Discover tips for maintaining your roof throughout the year.
Essential Tools for Asphalt Shingle Installation
- Hammer
- Utility knife
- Chalk line
- Measuring tape
- Safety harness
- Roof brackets
- Underlayment
- Roofing nails
- Starter shingles
- Ridge shingles
By following these practical tips and guidelines, you can ensure a successful asphalt shingle installation that will provide long-lasting protection for your home.