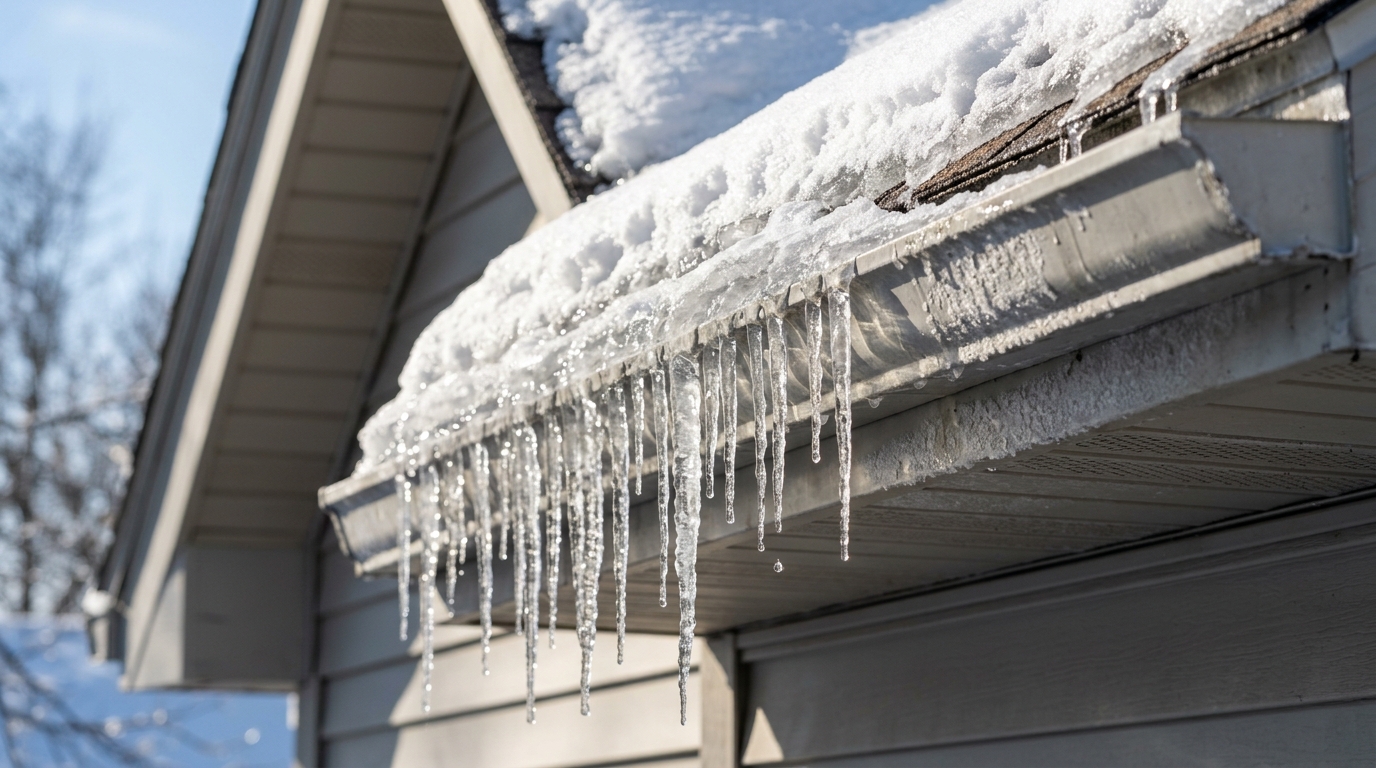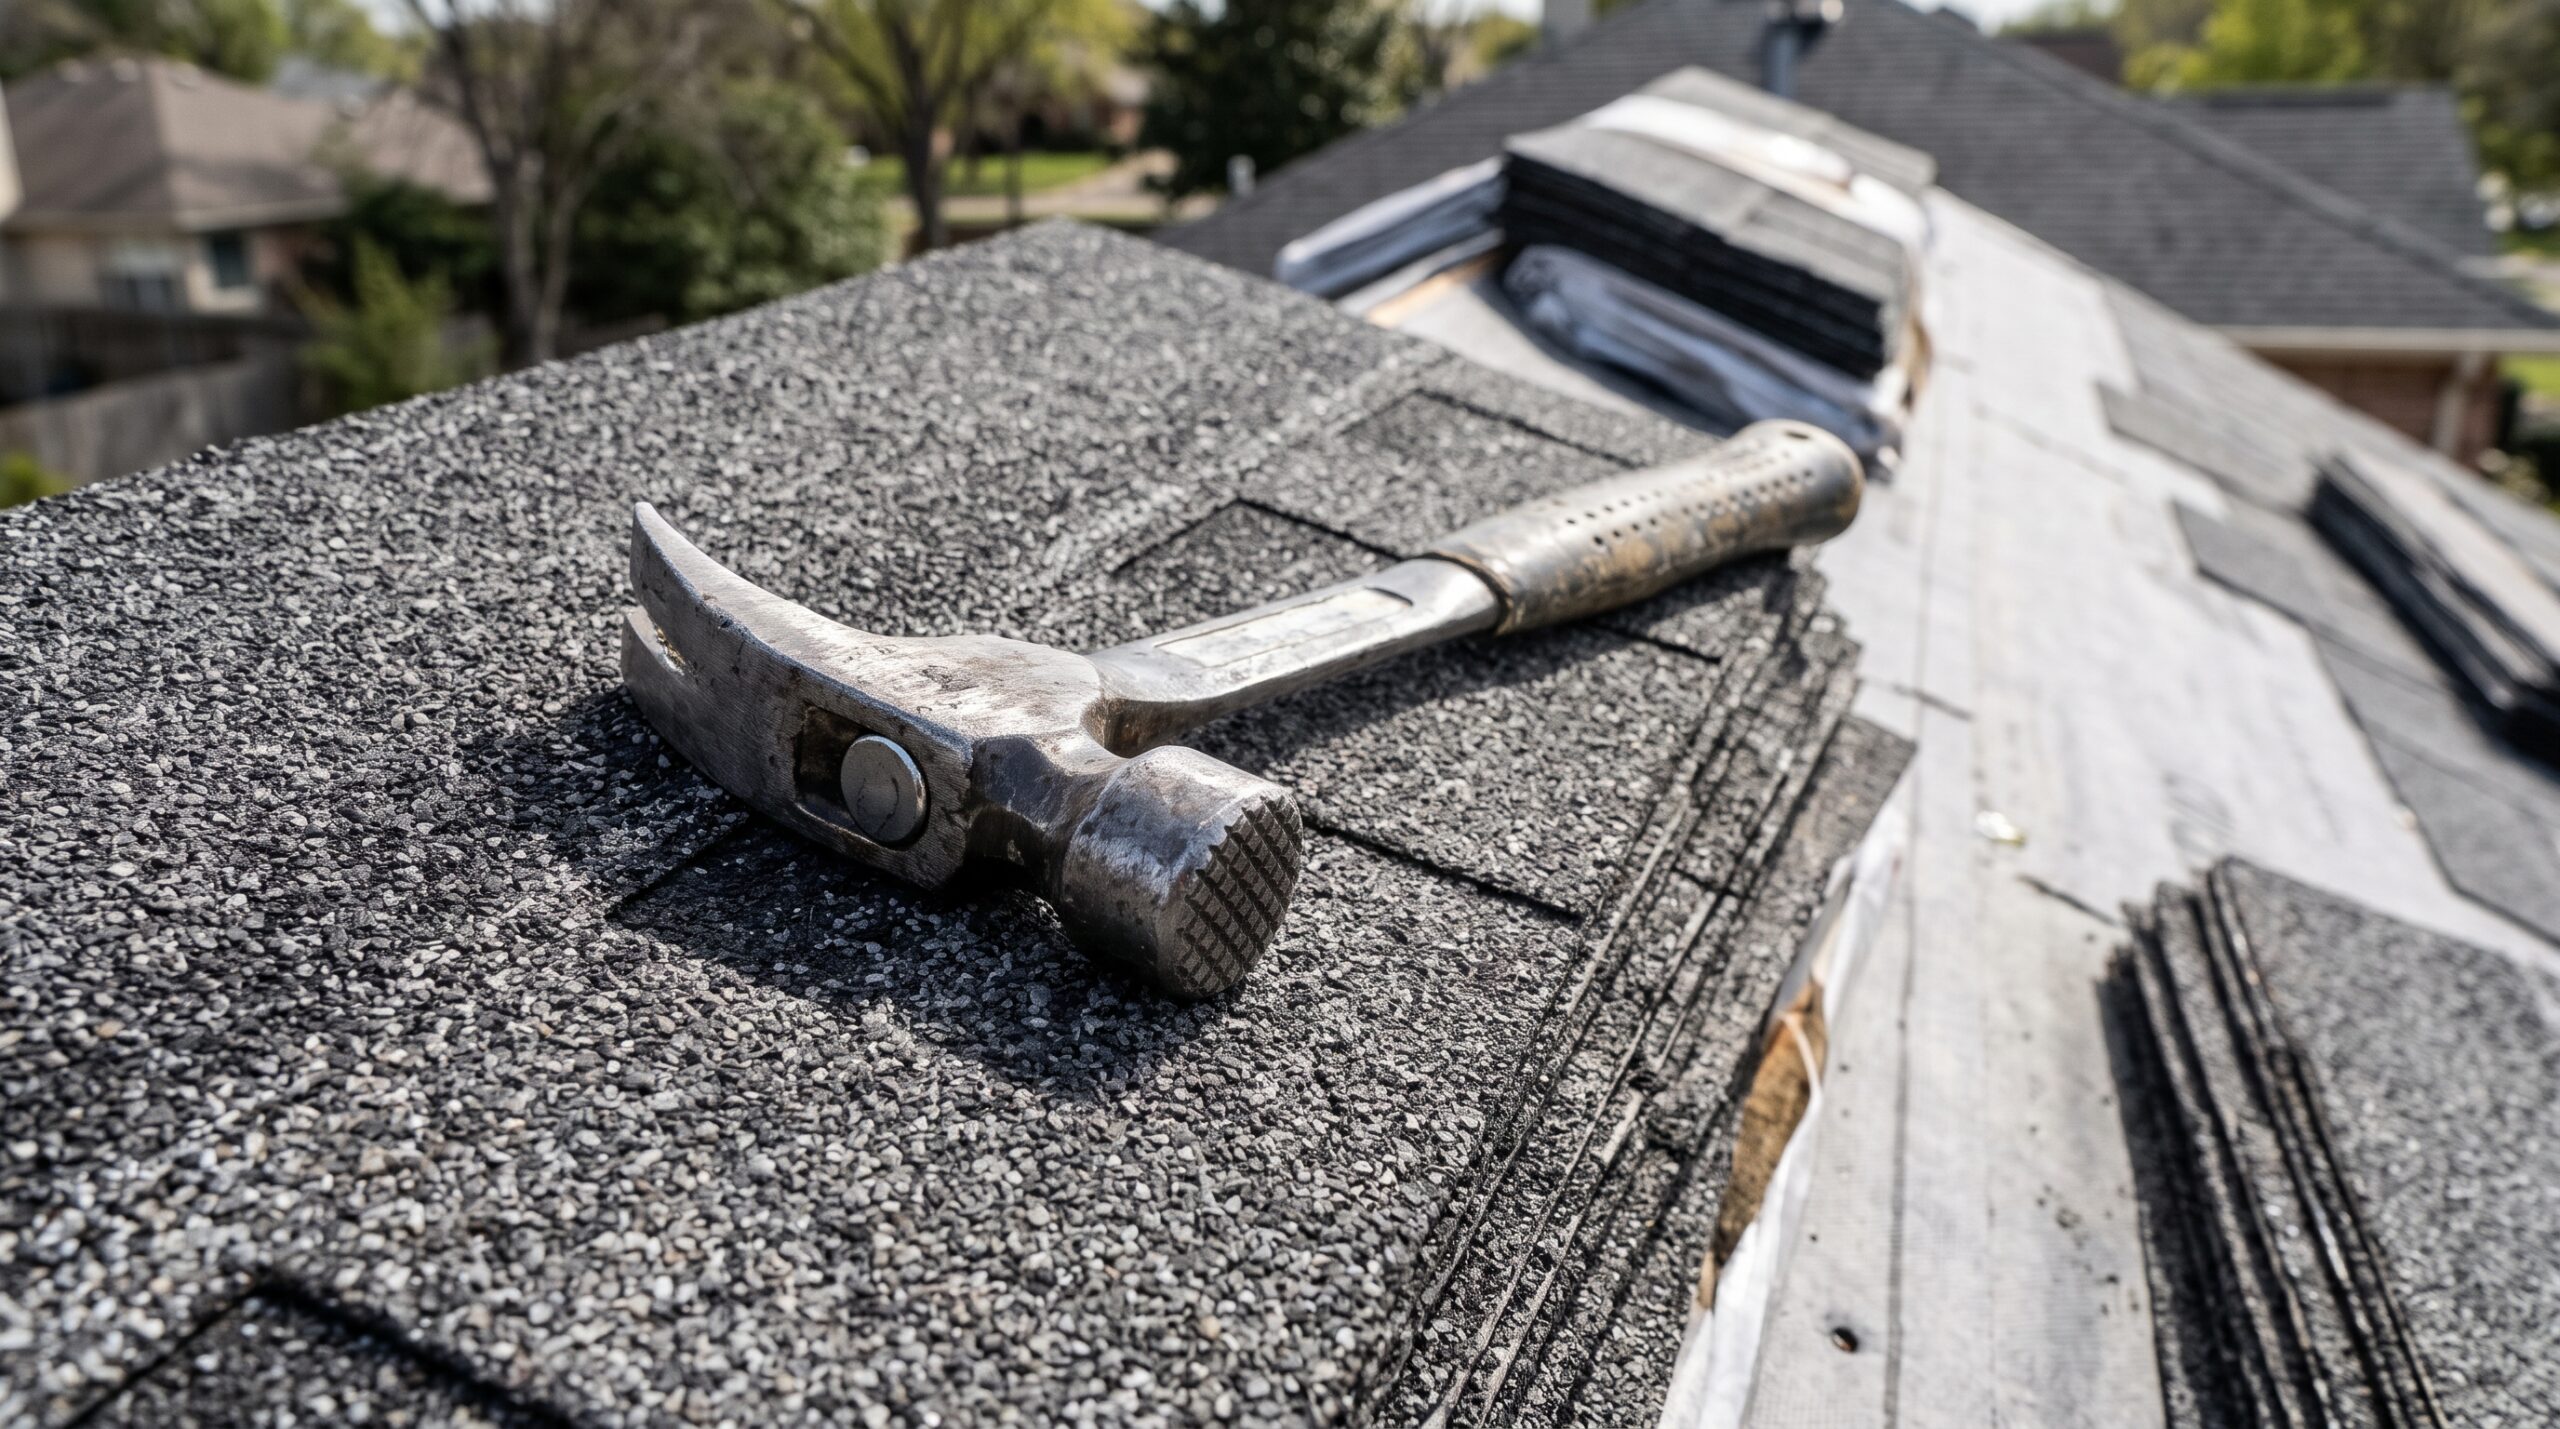

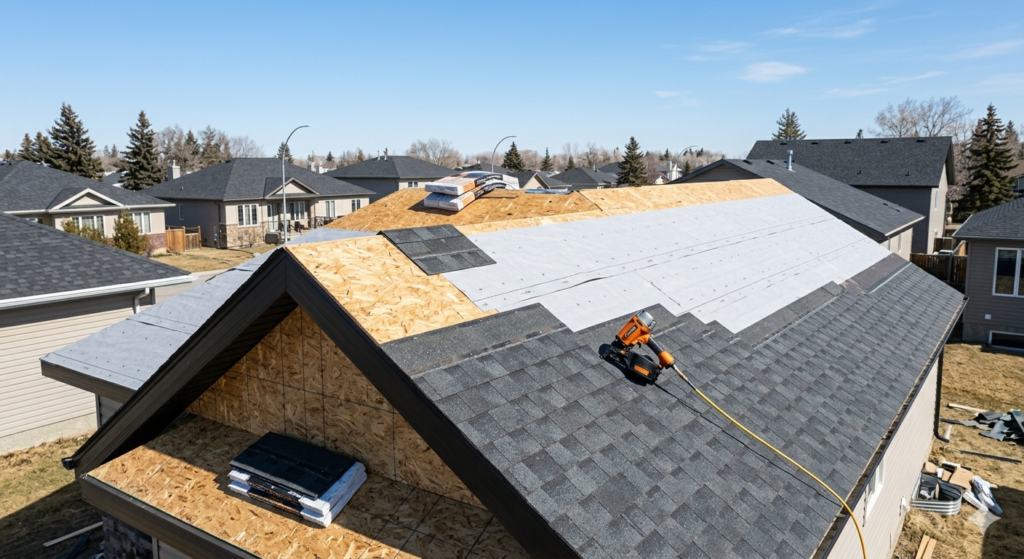
To install roof shingles properly on a Canadian home, you start with a solid, dry deck, add ice and water protection at the eaves, cover the rest with underlayment, and then lay starter strips and staggered shingle courses from the bottom edge up to the ridge. Each layer has to overlap the one below it, and every shingle has to be nailed in the right spot, because that is what keeps snowmelt, wind-driven rain, and ice dams from getting under the roof.
The order of the layers and the details at the edges matter more than most homeowners expect. A shingle roof that looks fine from the street can still fail early if the nails sit in the wrong place, the starter course is missing, or the eaves were left without ice protection. In a climate like Winnipeg’s, where roofs go through long freezes, sudden thaws, and strong prairie winds, those small details decide whether a roof lasts or starts leaking within a few seasons.
The Proper Way to Install Roof Shingles on a Canadian Home
A shingle roof is a layered system, not just a surface covering. Water is supposed to run downhill from one layer onto the next without ever finding a seam that points the wrong way. Every step in the installation supports that one idea.
On a Canadian home, the system usually includes these parts, working from the deck up.
The Layers You Need to Install Roof Shingles Correctly
- Roof deck. Plywood or OSB sheathing that gives the shingles a solid nailing base.
- Drip edge. Metal flashing at the eaves and rakes that directs water into the gutter and protects the deck edge.
- Ice and water protection. A self-adhering membrane at the eaves, in valleys, and around penetrations.
- Underlayment. A secondary water barrier over the rest of the deck.
- Starter strip. A row along the eaves and often the rakes that seals the first course.
- Field shingles. The main rows, laid in a staggered pattern.
- Flashing at walls, chimneys, and vents. Metal pieces that bridge the gap between the roof and anything that pokes through it.
- Ridge and hip caps. Shaped shingles that close the peak and any hips.
Leaving out any one of these weakens the rest. Many of the leaks roofers trace back after a Manitoba winter start at the edges and transitions, not in the middle of the roof.
Preparing the Roof Before Any Shingles Go On
Good shingle work starts below the shingles. If the deck is soft, wavy, or wet, nothing laid on top of it will sit flat or hold nails properly.
On a re-roof, the old shingles are stripped down to the sheathing so the deck can be checked. Soft spots, delaminated plywood, and dark staining often point to past leaks or poor attic ventilation. Damaged boards should be replaced, and loose sheathing should be re-fastened, before the new roof goes on. Installing a new layer over a deck that is already failing simply hides the problem until it shows up inside the house.
This is also the right time to look at the attic. Warm, moist air from the living space that collects under the roof deck can cause frost buildup in winter, which melts and drips in spring. Balanced ventilation, with intake at the soffits and exhaust near the ridge, helps keep the deck dry and reduces the attic heat that contributes to ice dams. Insulation and air sealing in the attic work hand in hand with ventilation, so they are worth reviewing during any shingle project.
Step-by-Step Shingle Installation
Once the deck is sound, the installation follows a set order. Changing that order is one of the fastest ways to create a seam that funnels water inward.
Step 1. Fasten the Drip Edge at the Eaves
Metal drip edge and edge flashing go along the eaves first. This keeps water from curling back under the roof and wicking into the fascia and deck edge.
Step 2. Add Ice and Water Protection
Self-adhering membrane is applied along the eaves, extending up the roof far enough to pass the inside line of the exterior wall, as the manufacturer and local requirements specify. It also goes into valleys and around chimneys, skylights, and plumbing stacks. Using an ice and water shield along the eaves is especially important in Winnipeg, where ice dams can hold meltwater against the roof edge for weeks.
Step 3. Roll Out the Underlayment
Underlayment covers the rest of the deck, laid horizontally from the bottom up so each row overlaps the one below. Synthetic underlayment is common today because it resists tearing and stays flat. After the underlayment is down, drip edge is installed along the rakes, on top of the underlayment.
Step 4. Install the Starter Strip
The starter strip runs along the eaves with its adhesive strip near the bottom edge. It fills the gaps under the first course’s cutouts and seals that first row against wind uplift. It should overhang the drip edge slightly, by the amount the shingle manufacturer specifies.
Step 5. Lay the First Course and Snap Chalk Lines
The first full course sits directly over the starter strip, flush with its bottom edge. Because every row above takes its alignment from this one, snapping chalk lines before moving on helps keep courses straight across the whole roof.
Step 6. Work Upward in Staggered Courses
Each new course is offset from the one below so that joints never line up vertically. The exact offset depends on the shingle type, and architectural shingles often have their own pattern in the installation instructions. Valleys, walls, and penetrations get step flashing or counter-flashing as the courses reach them.
Step 7. Finish the Hips and Ridge
Ridge cap shingles are installed last, overlapping in the direction away from the prevailing wind. If the roof uses a ridge vent, the vent goes on first and the caps are nailed over it.
| Installation Stage | What It Protects Against | Common Mistake |
|---|---|---|
| Deck repair | Sagging, poor nail holding, hidden rot | Shingling over soft or damaged sheathing |
| Drip edge | Water wicking into fascia and deck edges | Installing rake drip edge under the underlayment |
| Ice and water membrane | Ice dam backup and valley leaks | Skipping it at the eaves or stopping short of the wall line |
| Underlayment | Water that gets past the shingles | Overlapping seams in the wrong direction |
| Starter strip | Wind lifting the first course | Using upside-down field shingles with no proper seal |
| Staggered courses | Water following a straight seam | Joints lined up from row to row |
| Ridge caps | Water entering at the peak | Using cut field shingles that crack when bent |
Nailing Shingles So They Stay Put in Prairie Wind
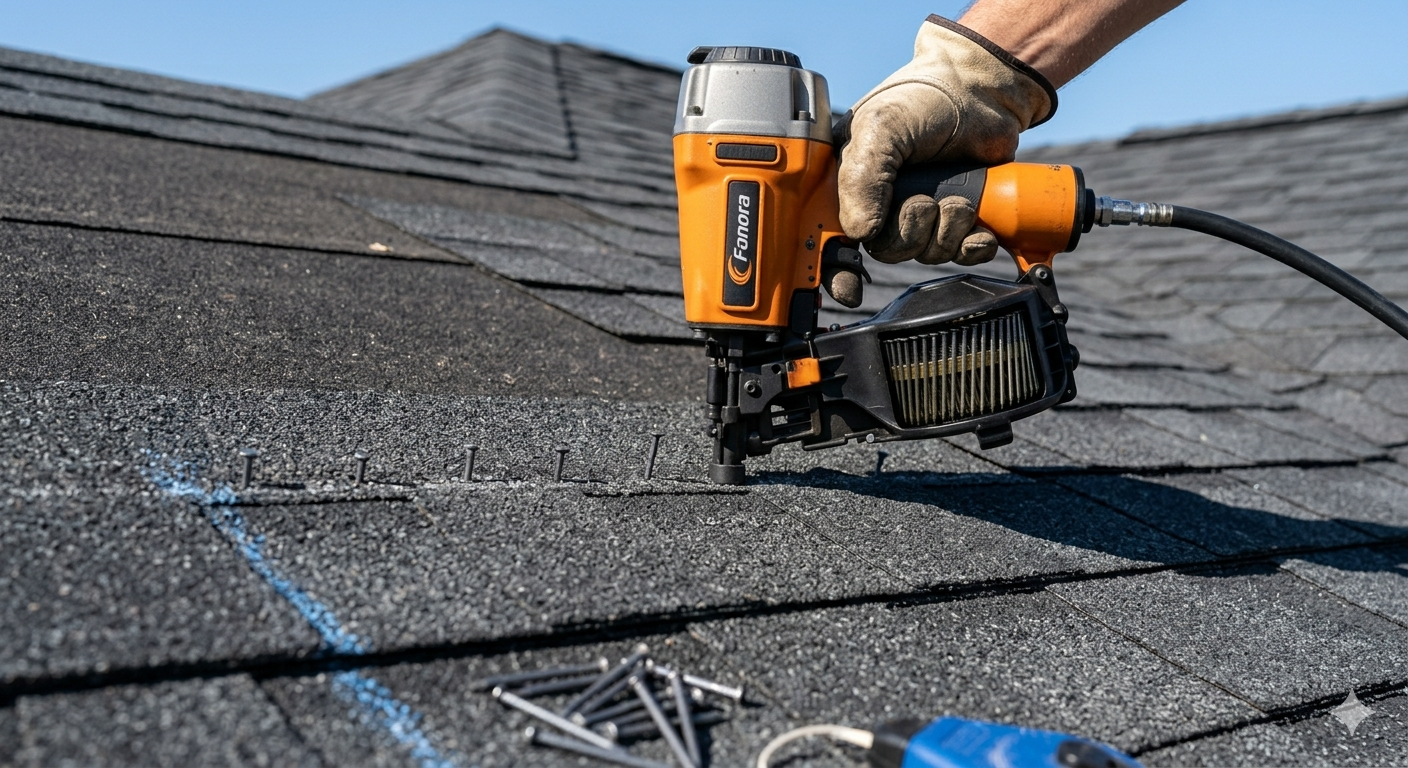
Nail placement is the detail that most often separates a roof that holds through a windstorm from one that loses shingles. Most manufacturers call for four nails per shingle in standard conditions and six in high-wind areas or on steep slopes. The nails go in the nailing zone marked on the shingle, which is designed so each nail also catches the top of the shingle below.
A nail driven too high misses that lower shingle and cuts holding power. A nail driven too low ends up exposed or just under the next course, where water can reach it. Nails should be driven straight, with the head flush to the surface. Overdriven nails cut into the mat, and underdriven nails leave a raised head that keeps the shingle above from sealing flat.
Pneumatic nailers speed up the work, but the pressure has to be checked often. Air pressure that suits a warm afternoon may overdrive nails once the shingles soften in the sun, and underdrive them on a cool morning.
| Nailing Problem | Result on the Roof | How to Prevent It |
|---|---|---|
| Nails above the nailing zone | Shingles slide or blow off | Follow the marked line on every shingle |
| Nails below the nailing zone | Exposed heads that leak | Keep nails within the zone, not in the exposed area |
| Overdriven nails | Torn mat and weak hold | Lower nailer pressure and test on scrap |
| Underdriven nails | Raised heads that stop the next course sealing | Check depth often and adjust |
| Angled nails | Reduced grip and cracked shingles | Hold the nailer square to the deck |
| Too few nails | Blow-offs during strong gusts | Use the higher nail count where wind exposure is high |
Cold-Weather Considerations in Winnipeg
Asphalt shingles rely on heat from the sun to activate the adhesive strips that bond each course to the one below. In cool weather, those strips may not seal for weeks, and in a cold snap they may not seal until spring. Shingles also become stiffer and more prone to cracking when it is cold.
Because of that, late spring through early fall is generally the most comfortable window for shingle work in Manitoba. When a roof has to be done in colder weather, manufacturers typically provide cold-weather instructions, which may include hand-sealing shingles with a compatible roofing cement and storing bundles somewhere warm before installation. Following those instructions is important for both performance and warranty coverage.
Wind is the other local factor. Open neighbourhoods and homes on the edge of the city can see strong gusts that test every edge and ridge. The higher nail count and well-sealed starter strips matter more on these roofs than on sheltered ones.
Safety on the Roof
Roofing is one of the more dangerous types of residential work, mostly because of fall risk. Anyone going up should use proper footwear, a secure ladder setup, and fall protection that is anchored correctly. The fall protection guidance from the Canadian Centre for Occupational Health and Safety explains the main types of systems and when each one is used. Provincial rules apply to workers, but the same principles make sense for anyone stepping onto a pitched roof.
When a Professional Installation Makes More Sense
Small, low, simple roofs are sometimes handled by experienced homeowners. Most homes, though, have features that raise the difficulty quickly, including steep pitches, two storeys, valleys, dormers, skylights, and chimneys. These areas are where flashing errors happen and where most leaks begin.
A professional crew also deals with the problems that only appear once the old roof is off, such as rotted sheathing, inadequate ventilation, or old flashing that needs replacing. If your current roof is worn out, a full shingle roof replacement handles the deck, ventilation, and every layer together rather than patching around existing issues. Homeowners comparing options can learn more about professional roof installation in Winnipeg and see which neighbourhoods and nearby communities are served.

Things To Know
- Shingles are only one part of the roof. Edges, flashing, and underlayment are where most leaks start.
- Ice and water membrane at the eaves is one of the most valuable protections for a Manitoba home.
- Nail placement matters more than nail count alone. A nail outside the marked zone weakens the shingle no matter how many you use.
- Joints should never line up from one course to the next.
- Cold weather slows or stops the adhesive strips from sealing, so timing and cold-weather instructions matter.
- Attic ventilation and insulation affect how long shingles last and how often ice dams form.
- Always follow the shingle manufacturer’s installation instructions, since warranties are usually tied to them.
- Damaged decking should be replaced before new shingles go on, not covered over.
If you have questions about your roof, want help assessing a worn or leaking shingle roof, or would like to talk through installation options for your home, contact Zega Roofing to discuss what fits your situation.
Why Shingle Installation Details Matter Most in a Cold Climate
A shingle roof works because each layer sheds water onto the next, and that only happens when every step is done in the right order with the right overlaps. When you install roof shingles on a Canadian home, the parts you cannot see after the job is done, including the deck, membrane, underlayment, starter strip, and nail placement, do most of the work. In Winnipeg’s freeze-thaw seasons and prairie winds, getting those hidden details right is what separates a roof that lasts from one that needs early repairs.
Frequently Asked Questions
How should shingles be installed on a roof?
Shingles should be installed from the eaves up in staggered, overlapping courses over a properly prepared deck. The process starts with drip edge, ice and water membrane, and underlayment, followed by a starter strip and the first course. Each row is offset from the one below and nailed in the marked zone, and ridge caps close the peak.
Can you install shingles yourself?
Yes, on a small and simple roof, but most homes are better suited to a professional crew. Steep slopes, two-storey homes, valleys, and chimneys add fall risk and flashing details that are easy to get wrong. Mistakes at these spots are a common source of leaks.
What is the proper nailing pattern for shingles?
Most shingles use four nails each in standard conditions and six in high-wind areas, all placed in the manufacturer’s nailing zone. Nails should be driven straight and flush with the surface. Placing them in the correct zone lets each nail also secure the shingle underneath.
How to install the first layer of shingles on a roof?
The first layer is a starter strip along the eaves, followed by the first full course laid flush with it. The starter strip seals the bottom edge and fills the gaps under the first course’s cutouts. It should overhang the drip edge slightly, as the manufacturer specifies.
Do I need to put anything under shingles?
Yes, shingles need underlayment beneath them, plus ice and water membrane in key areas. Underlayment acts as a backup barrier for water that gets past the shingles. In cold climates, self-adhering membrane at the eaves, in valleys, and around penetrations helps protect against ice dam leaks.