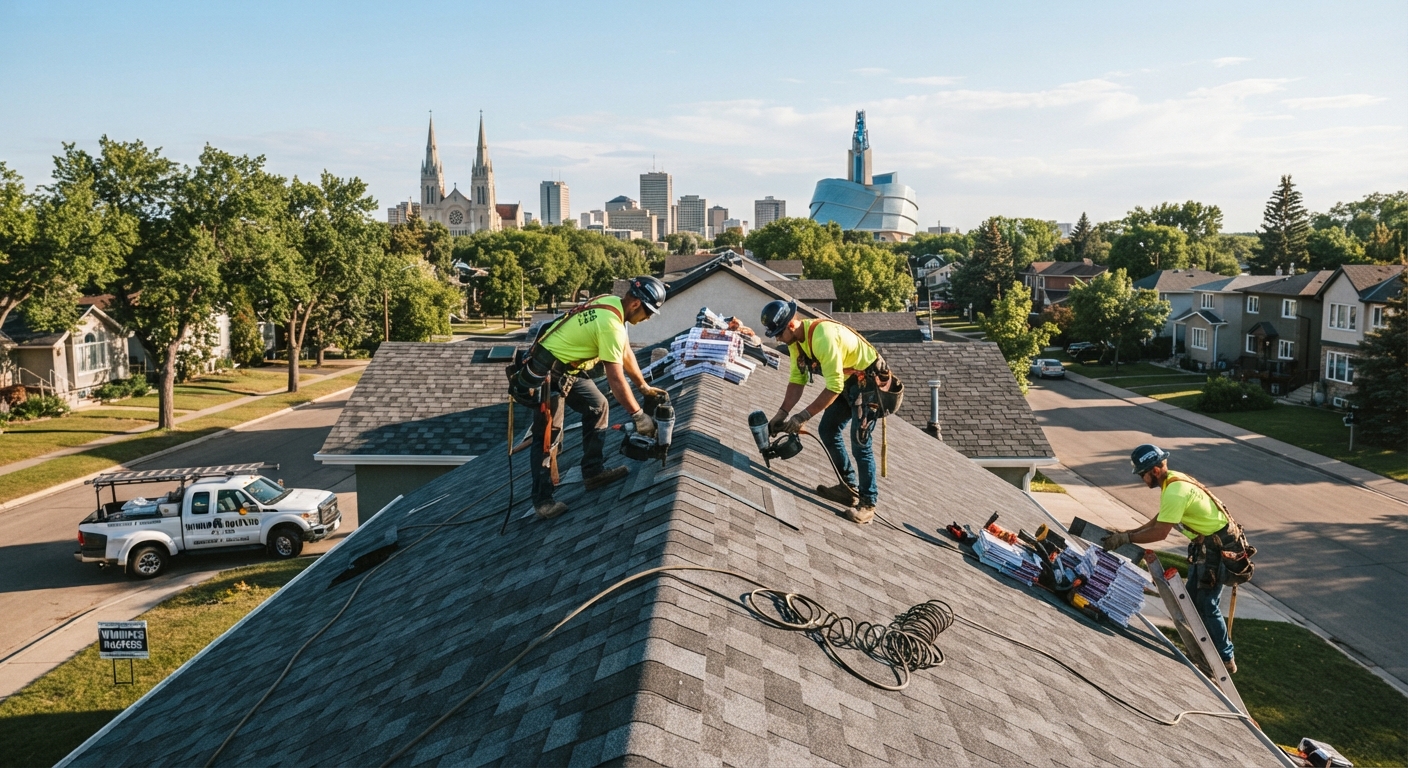
A roof nailer drives shingle and underlayment fasteners in seconds, which is why almost every professional crew uses one instead of a hammer. Winnipeg’s freeze-thaw cycles put extra stress on a roof deck, and a roof nailer keeps nail depth and spacing consistent enough to handle that stress season after season.
Manual hammering is slower, tires out a crew, and often leaves nails driven too deep or too shallow, both of which shorten a shingle’s lifespan. A roof nailer solves that problem with adjustable depth control, steady pressure, and a fastening pattern that holds up through wind, snow load, and repeated thawing.
Why Roofers Choose a Roof Nailer Over Manual Methods
Speed is the most obvious reason. A roof nailer fires a fastener the instant it contacts the shingle, letting a crew finish a section in a fraction of the time hand-nailing would take. On a home with thousands of shingles, that time difference adds up to fewer hours on the ladder and a faster turnaround for the homeowner.
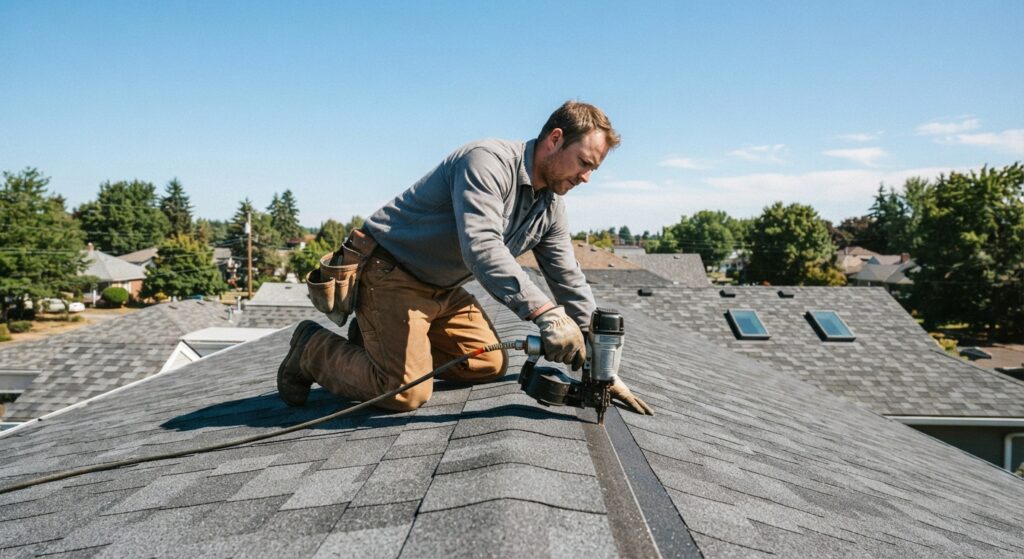
Consistency matters just as much as speed. Every shot from a roof nailer lands at the same depth and angle when the tool is set up correctly, which keeps the shingle’s seal strip intact and prevents nail heads from sitting too high or punching through the material.
A hammer depends entirely on the swing of the person holding it, so depth varies from nail to nail, and that inconsistency is exactly what causes leaks and lifted shingles down the road.
There is also a physical toll to consider. Hand-driving hundreds of nails a day leads to fatigue, and tired hands make mistakes. A roof nailer reduces that strain, which helps crews maintain the same quality on the last shingle of the day as the first.
What Is a Roof Nailer?
A roof nailer is a fastening tool built specifically for asphalt shingles, cedar shakes, and underlayment. It loads a coil or strip of nails and drives them one at a time with a squeeze of the trigger, using either compressed air or a battery-powered motor for force.
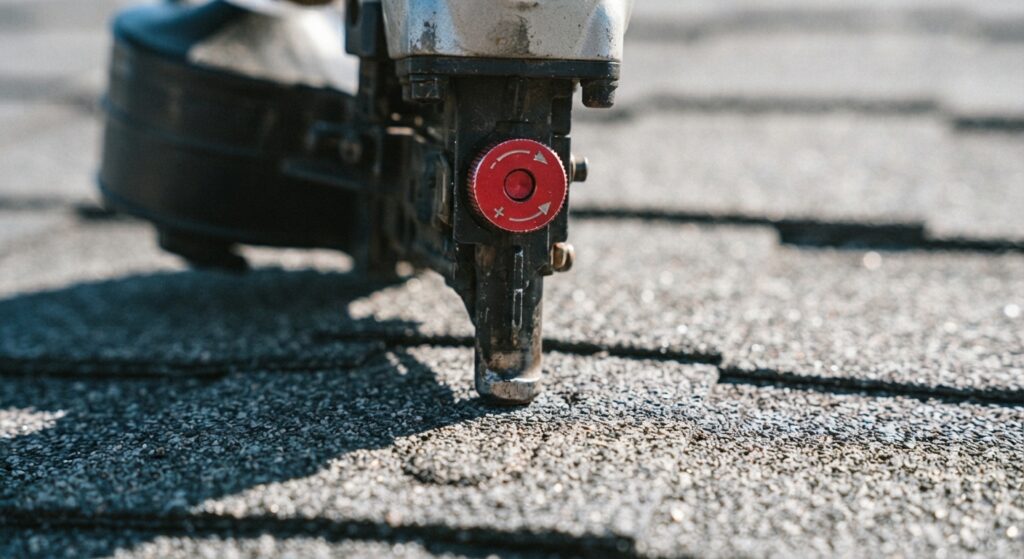
Unlike a general-purpose framing tool, a roof nailer usually has a wider nailing head or guide designed to sit flush against a shingle’s surface, along with a depth-of-drive adjustment so the operator can fine-tune how far each nail sinks. That adjustment is one of the most important features, since Winnipeg roofs need nails set flush without over-driving through the shingle’s fiberglass mat.
How a Roof Nailer Works
The basic operation is straightforward, but a few steps matter for getting clean, secure results on every shingle course.
Typical Roof Nailer Workflow
- Load the magazine: Coil or strip nails are loaded into the tool’s magazine, usually holding enough fasteners for an entire section of roof.
- Connect the power source: Pneumatic models attach to an air compressor through a hose, while cordless models run on a rechargeable battery pack.
- Set the depth: The operator adjusts the depth dial so nail heads sit flush with the shingle surface rather than sinking into it or standing proud.
- Position and fire: The nose of the tool is placed on the nailing line of the shingle, and a single trigger pull drives the fastener instantly.
- Repeat down the course: The roofer moves along the row, repeating the motion until the section is complete.
This process is why a roof nailer produces such an even fastening pattern across a large surface, something that is difficult to replicate by hand over a full roof.
Roof Nailer vs. Manual Hammering
| Factor | Roof Nailer | Manual Hammering |
| Speed | Drives a nail in under a second | Takes several seconds per nail |
| Nail depth consistency | Adjustable and repeatable | Varies by hand strength and swing |
| Physical fatigue | Minimal strain over long jobs | High strain, especially on large roofs |
| Risk of shingle damage | Low, with proper depth setting | Higher, from missed or angled strikes |
| Best suited for | Full roof installations and replacements | Small patch repairs or single shingles |
For a full residential installation, a roof nailer is almost always the more practical choice, while manual hammering still has a place for quick, one-off repairs where setting up a tool isn’t worth the time.
Types of Roof Nailer Tools
Not every roof nailer works the same way, and picking the right type depends on the scope of the project and what power source is available on site.
| Type | Power Source | Typical Use Case |
| Pneumatic (air-powered) | Air compressor and hose | Large installations, full crews, high-volume jobs |
| Cordless (battery-powered) | Rechargeable battery pack | Smaller jobs, hard-to-reach areas, no compressor access |
| Coil-style magazine | Either pneumatic or cordless | Continuous, high-capacity fastening with fewer reloads |
Pneumatic tools tend to offer the most consistent driving force and are common on larger crews where an air compressor is already part of the setup. Cordless options trade a bit of raw power for mobility, which makes them useful on smaller roofs, additions, or spots where running an air hose isn’t practical.
Which Roof Nailer Option Is Best for Your Roof?
The right choice comes down to the size of the job, the roof’s accessibility, and how the work will be done.
Why it matters: the wrong tool can slow down a project or lead to inconsistent fastening, which shortens the life of the shingles.
How to decide: for a full roof replacement, a pneumatic roof nailer paired with an experienced crew delivers the fastest, most even result. For smaller repairs, a section replacement, or areas where running an air hose is impractical, a cordless roof nailer offers enough flexibility without sacrificing much in fastening quality.
Which option is best: most Winnipeg homes benefit from a pneumatic roof nailer for the main installation, with a cordless model kept on hand for touch-ups, edges, and hard-to-reach valleys. Matching the tool to the task is what keeps a roof performing well through freeze-thaw seasons rather than just getting the job done quickly.
Tips for Using a Roof Nailer Safely and Effectively
- Always test the depth setting on a scrap shingle before starting a full course, since depth needs vary slightly by shingle brand and thickness.
- Keep the tool’s nose flush against the shingle surface before firing to avoid angled or overdriven nails.
- Check air pressure or battery charge regularly, since low power is a common cause of underdriven fasteners.
- Wear eye protection and keep hands clear of the nosepiece at all times.
- Clean and lubricate the tool according to the manufacturer’s schedule to prevent jams during a job.
Homeowners planning a project can see examples of completed work, including fastening detail on finished roofs, through Zega Roofing’s roofing photo gallery, which shows what a properly nailed shingle roof looks like once finished.
Things to Know
Winnipeg’s climate swings from hot summers to deep winter cold, and that range affects how a roof nailer performs on site. Cold air can make shingles more brittle, so crews often adjust technique and timing when installing in low temperatures to avoid cracking.
Compressed air tools can also lose some pressure in cold weather, which is why depth settings should be rechecked throughout a winter job rather than set once and forgotten.
Regular maintenance keeps a roof nailer firing consistently, and a poorly maintained tool is one of the more common causes of uneven nailing on a roof.
For homeowners hiring out the work, asking a contractor how their crew maintains and calibrates their fastening tools is a reasonable question, and a good answer usually points to routine depth checks and scheduled tool servicing.
Residents outside the immediate city core can confirm coverage through Zega Roofing’s areas served page before booking an inspection or estimate.
Final Thoughts on Choosing the Right Roof Nailer
A roof nailer remains one of the most valuable tools on any shingle roofing project, offering the speed and consistency that manual hammering simply can’t match, especially on roofs that need to withstand Winnipeg’s seasonal extremes.
Whether a project calls for a pneumatic roof nailer on a full installation or a cordless model for smaller repairs, matching the right tool to the job is what keeps a roof performing well for years.
If you have any questions about roofing, fastening methods, or which approach is right for your home, contact Zega Roofing’s team today. You can also learn more about our crew and experience on our about page, browse recent residential roof installations and shingle roof replacement projects, or reach out directly through our contact page to book an inspection or ask about finding roofers near me in your area.
Frequently Asked Questions
What is a roof nailer used for?
A roof nailer is used to fasten asphalt shingles, underlayment, and cedar shakes quickly and evenly. It replaces manual hammering on most professional roofing jobs.
Is a roof nailer better than a hammer for roofing?
Yes, for full installations, a roof nailer is faster and more consistent than hammering by hand. A hammer still works fine for small, single-shingle repairs.
How deep should a roof nailer drive nails?
Nail heads should sit flush with the shingle surface, not sunk in or standing above it. Most tools have an adjustable depth dial to control this.
Can a roof nailer be used in cold weather?
Yes, but cold temperatures can affect air pressure and shingle flexibility, so settings should be checked often. Crews typically adjust technique during winter installations.
Do professional roofers always use a roof nailer?
Most professional crews use a roof nailer for full installations and replacements. Hand-nailing is usually reserved for small patch repairs only.