A roof dormer is a roofed structure that projects vertically from a sloping roof, creating extra headroom, natural light, and usable floor space inside your home. Homeowners in Winnipeg install roof dormers to convert underused attic areas into livable rooms, improve ventilation, and dramatically increase curb appeal.
Installing a roof dormer is one of the most rewarding home improvement projects you can undertake, but it requires careful planning around structure, roofing materials, and local building codes. There are several types of roof dormers to choose from, each suited to different architectural styles and space requirements. Knowing which type fits your home, understanding the installation process, and learning how to maintain your dormer properly can save you thousands of dollars in future repairs. This article breaks all of that down clearly so you can move forward with confidence.
Why Homeowners in Winnipeg Are Adding a Roof Dormer
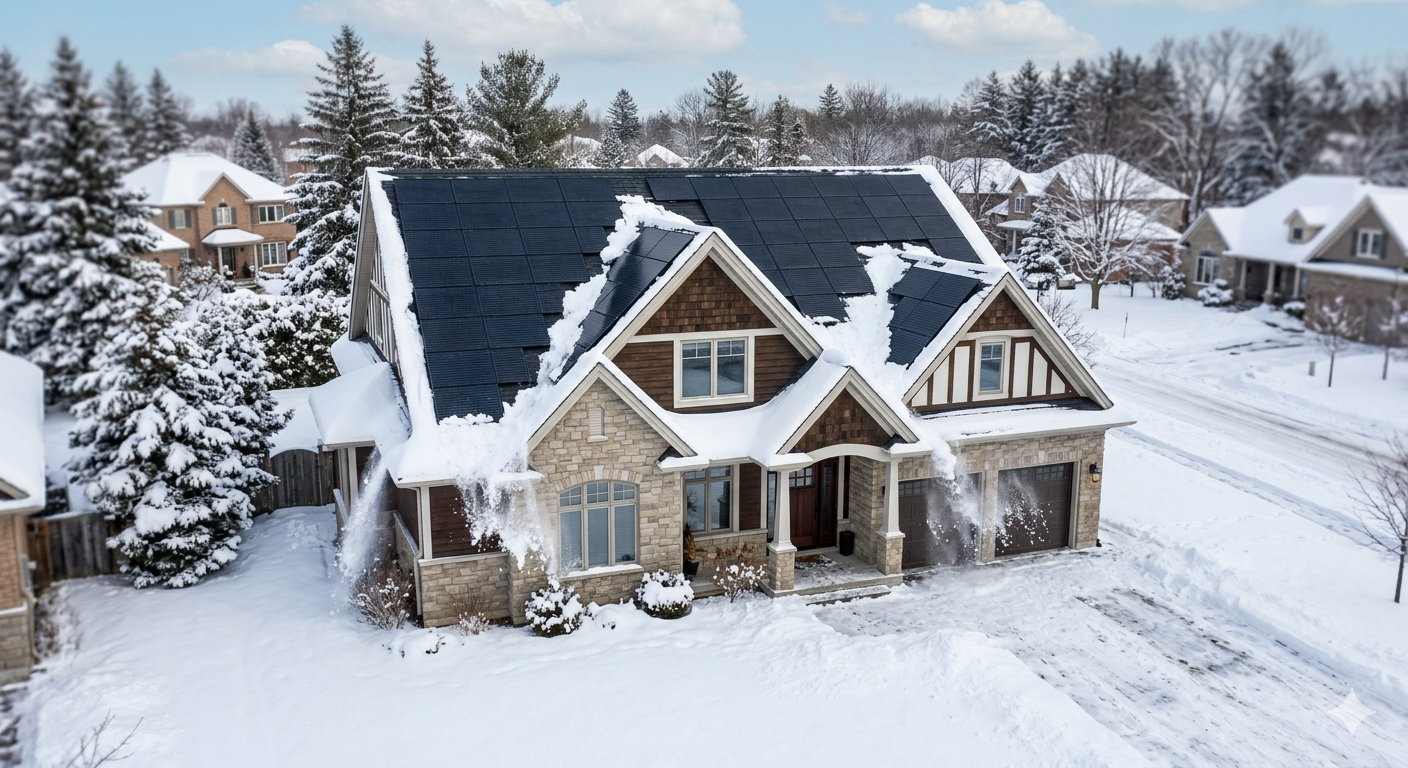
A roof dormer does more than improve how your house looks from the street. It fundamentally changes how the interior of your home feels and functions. In Winnipeg especially, where long winters keep families indoors for months at a time, converting attic space into a bright, ventilated room makes a significant quality-of-life difference. A roof dormer brings in natural light that attic spaces almost never get, and that alone can change a dark, cramped upper floor into a comfortable bedroom, home office, or playroom.
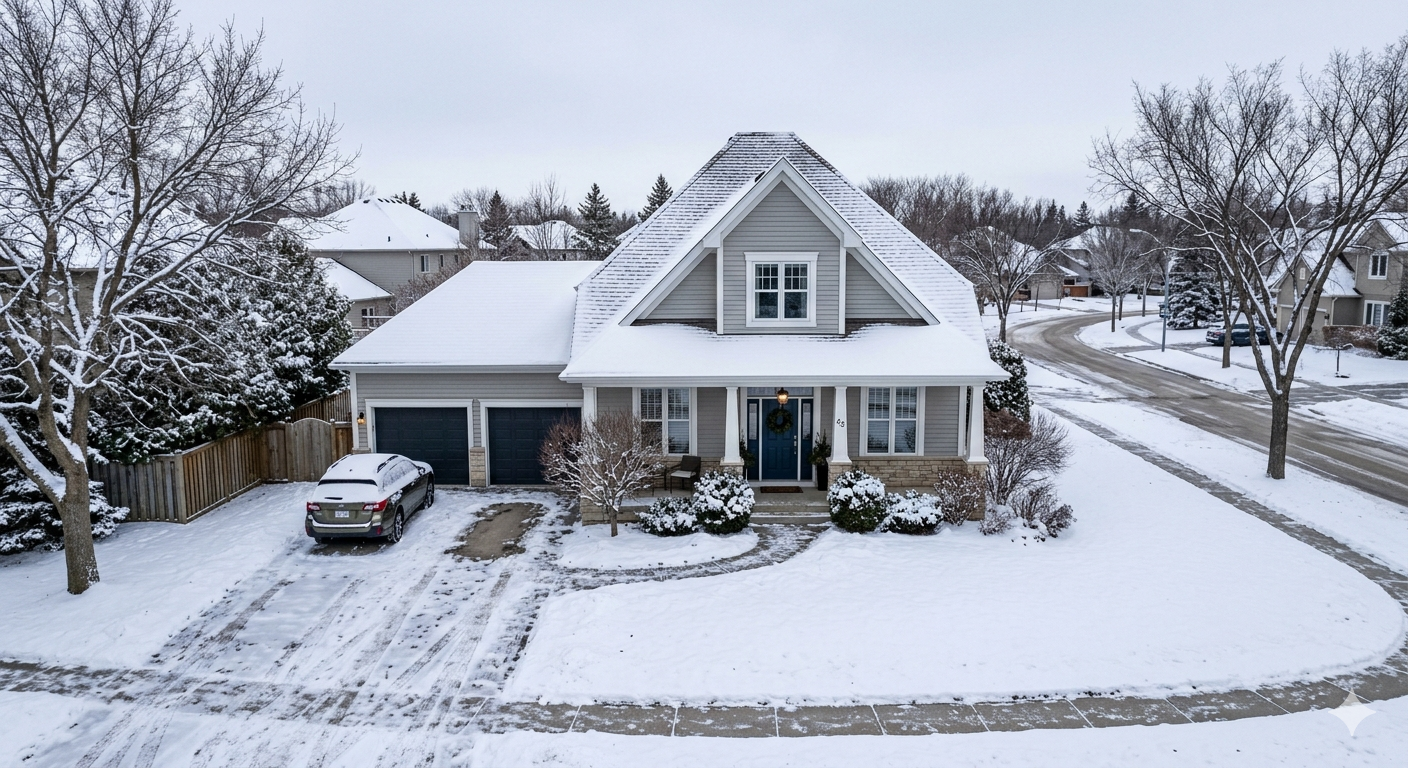
From a property value perspective, adding a roof dormer consistently ranks among the higher-return renovation investments. Real estate professionals in Canada note that finished upper-floor space created through a roof dormer addition can yield a strong return at resale, particularly in urban and suburban markets where square footage carries a premium. Buyers pay attention to livable space, and a well-executed roof dormer signals that the home has been thoughtfully expanded.
Beyond value, a roof dormer also improves natural ventilation inside the home. When a dormer window is operable, it allows hot air trapped in the upper levels to escape, reducing the load on air conditioning systems during summer months. In winter, proper dormer placement and sealing contribute to better moisture management in the attic, which directly protects your roofing system from ice dams and condensation damage.
The Different Types of Roof Dormers and Which One Works Best
Not every roof dormer works for every home, and selecting the wrong style can look out of place or create structural challenges. Understanding the most common types helps you make a better decision before construction begins.
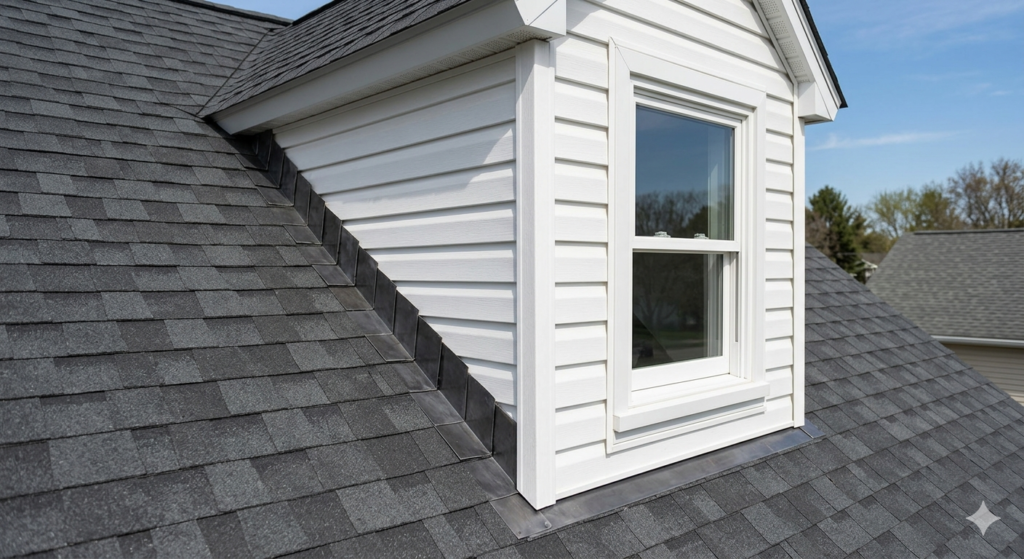
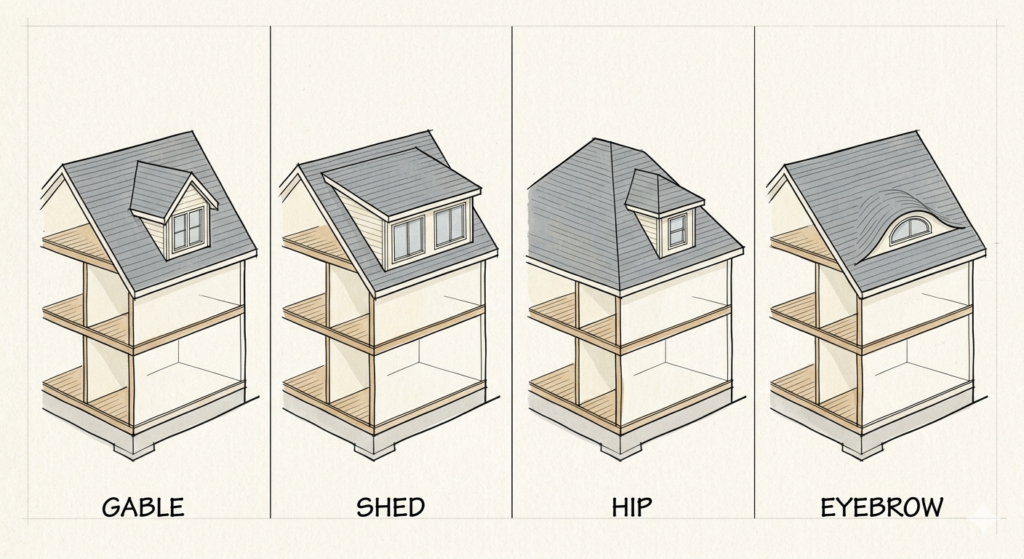
Gable Dormer
A gable dormer is the most traditional and widely recognized style. It features a triangular roof peak at the front, mirroring the shape of a gable-end roof. This type of roof dormer suits homes with steep pitches and classic architectural styles. It provides strong visual presence and allows for a relatively wide window opening, bringing in generous amounts of light.
Shed Dormer
A shed dormer uses a single-sloped roof that runs in the same general direction as the main roof but at a shallower pitch. It is one of the most practical options when the goal is maximizing usable floor space because it spans a wide portion of the roof rather than projecting from a single point. Homeowners looking to convert entire attic floors into full rooms often choose a shed roof dormer for this reason.
Hip Dormer
A hip dormer has three sloping roof planes that meet at a ridge, giving it a softer, more rounded appearance compared to the sharp peak of a gable dormer. It suits homes with hipped roofs or those with a more contemporary architectural style. While it offers less interior width than a shed dormer, it blends more seamlessly into the roofline.
Eyebrow Dormer
An eyebrow dormer is a low-profile, curved structure that barely rises above the main roofline. It is primarily decorative and does not add meaningful floor space or headroom, but it introduces character and visual interest to an otherwise plain roofline. These are more common in heritage or craftsman-style homes.
Which Roof Dormer Type Is the Best Option?
For most Winnipeg homeowners prioritizing livable space and return on investment, a shed dormer or gable dormer offers the best combination of functionality and visual appeal. The shed dormer wins when the primary goal is square footage, while the gable dormer wins when the priority is curb appeal and classic styling. If your home already has a gabled roofline, a matching gable roof dormer will integrate naturally and maintain architectural consistency.
How a Roof Dormer Is Properly Installed
The installation of a roof dormer is a significant structural project that involves cutting into the existing roof deck, modifying rafters, and framing an entirely new roofed projection. Understanding the process helps homeowners set realistic expectations about timeline, disruption, and what to look for when working with a roofing contractor.
The first step in any roof dormer installation is a thorough structural assessment. A qualified contractor evaluates the existing rafter configuration, load-bearing walls, and attic framing to determine whether the roof can support the new addition without compromising the home’s structural integrity. In older Winnipeg homes especially, this step is critical because the framing may need reinforcement before any cuts are made.
Once the structural plan is confirmed, temporary weatherproofing is set up to protect the interior of the home during construction. The roofing material is removed in the target area, and the roof deck is carefully cut open according to the dormer’s dimensions. New headers and structural supports are installed to carry the load that was previously handled by the removed rafters.
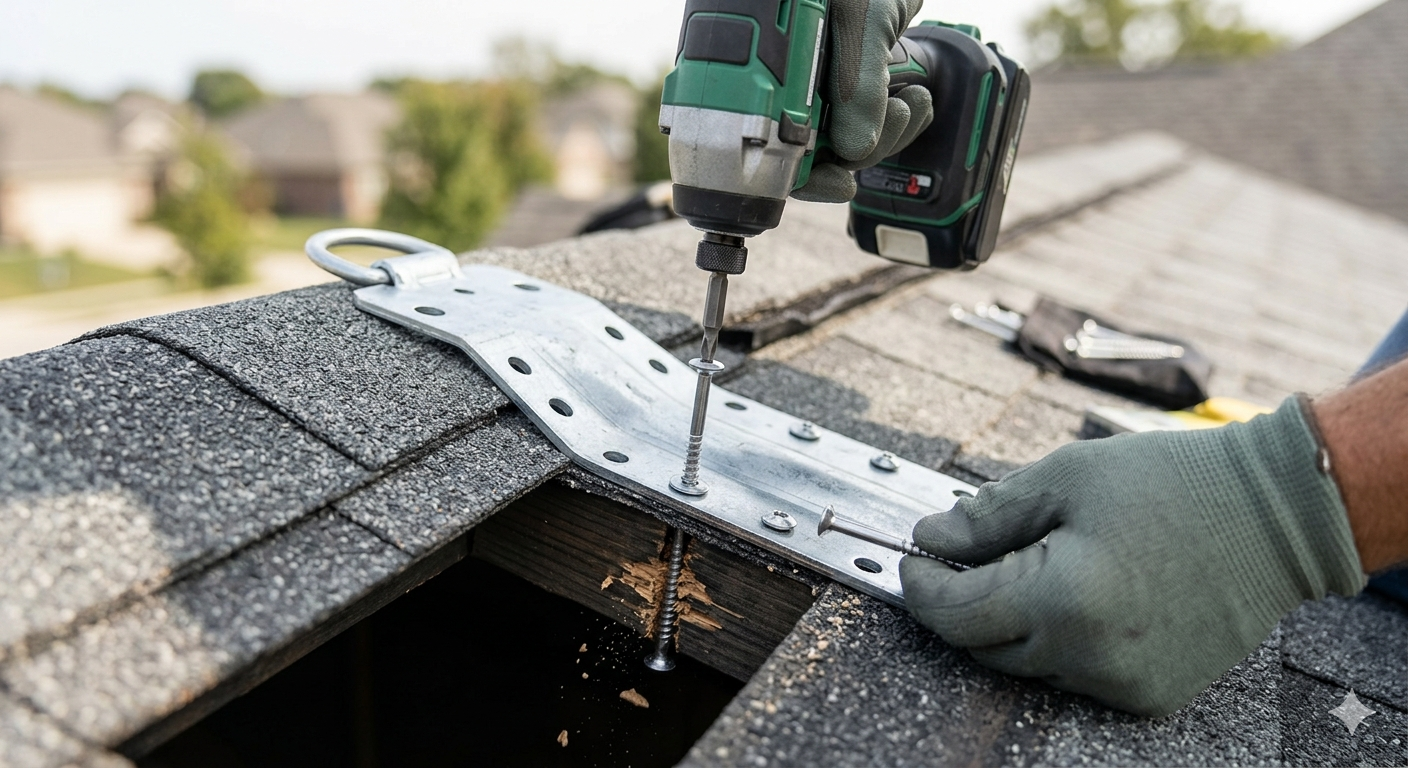
Framing for the dormer walls and roof then goes up, followed by sheathing and waterproofing membranes. The window rough opening is framed during this stage as well. Flashing is one of the most critical components of a roof dormer installation because the intersection between the dormer walls and the main roof is highly vulnerable to water infiltration. Proper step flashing, counter flashing, and sealant application at every transition point determines whether the dormer remains watertight for decades or begins leaking within a few years.
After flashing, the roofing material is applied to the dormer roof, matched to the existing material where possible for visual continuity. Interior finishing, insulation, and window installation complete the project. A well-installed roof dormer, done with attention to every detail, typically takes between two and four weeks from start to finish depending on size and complexity.
For homeowners looking at related roofing work alongside a dormer project, understanding how residential roof installations are carried out provides useful context for what to expect during construction.
Things To Know Before Adding a Roof Dormer
Before committing to a roof dormer project, there are several practical points that every homeowner should understand to avoid surprises along the way.
- Building permits are required in Winnipeg. Any structural addition to a roof, including a roof dormer, falls under the City of Winnipeg’s building permit requirements. Your contractor should handle this, but confirm it before work begins.
- Not all attics can support a roof dormer. Trussed roofs, which are very common in homes built after the 1980s, are more complicated to modify than traditional rafter-framed roofs. A structural engineer may need to be involved.
- The existing roofline pitch matters. A roof dormer generally requires the main roof to have a pitch of at least 4:12 for there to be enough height to work with inside the dormer.
- Insulation must be upgraded. Whenever a roof dormer is added, the insulation in and around the new structure needs to meet current building code standards, which have become more stringent in recent years.
- Flashing failures are the most common cause of dormer leaks. Even a beautifully framed roof dormer will fail if flashing is done incorrectly. Always verify that your contractor has specific experience with dormer flashing details.
- Ventilation must be planned from the start. The dormer’s integration into the home’s ventilation system should be part of the original design, not an afterthought.
Maintaining Your Roof Dormer Through Winnipeg’s Seasons
A roof dormer requires dedicated maintenance attention because it has more surface transitions, valleys, and flashing intersections than a standard roof plane. In Winnipeg’s climate, where freeze-thaw cycles repeat dozens of times each winter, these vulnerable points are under constant stress.
Inspect the flashing around your roof dormer at least twice a year, once in the fall before freeze-up and again in spring after the snow melts. Look for lifted edges, cracked sealant, or gaps where the flashing meets the dormer sidewall. These are the earliest warning signs of water infiltration before visible interior damage appears.
Clear the valleys where the dormer roof meets the main roof of debris in autumn. Leaves and organic material trap moisture and accelerate flashing deterioration in these intersections. Installing roofing ice shield underlayment in the valleys during any re-roofing work provides an additional layer of protection against ice damming, which is particularly aggressive around roof dormers in Winnipeg winters.
Check the dormer window caulking and frame seals annually. Wood frames expand and contract with temperature changes, and the sealant around the window perimeter can crack over a single winter season. Reapplying exterior-grade sealant as needed keeps moisture out of the wall assembly.
Pay attention to the dormer’s guttering if one is present. A small dormer roof can shed significant water volume during heavy rain, and a blocked gutter along the dormer’s lower edge can force water back under the roofing material. For more detail on keeping drainage systems functioning properly, reviewing roofing gutter maintenance practices is a worthwhile step.
How Zega Roofing Handles Roof Dormer Projects in Winnipeg
When it comes to installing or repairing a roof dormer in Winnipeg, the experience and workmanship of your contractor matter more than almost any other factor. Zega Roofing brings over 25 years of hands-on roofing experience to every project, with a team of certified, licensed, and insured roofers who understand Manitoba’s climate demands inside and out. From the initial structural assessment through to final flashing and finishing work, every roof dormer project is handled with the same attention to detail and commitment to long-lasting results. To learn more or to get a quote, contact Zega Roofing directly.
Wrapping Up Your Roof Dormer Journey
A roof dormer is one of the most impactful investments you can make in your home, bringing in natural light, expanding livable space, and lifting the overall character of your property’s exterior. Whether you are drawn to the classic look of a gable dormer or the space-maximizing power of a shed dormer, the key is matching the style to your home’s architecture, planning the installation carefully, and prioritizing quality workmanship at every step.
For Winnipeg homeowners, where climate conditions put roofing systems under significant seasonal pressure, a well-built and properly maintained roof dormer is a long-term asset that pays dividends in comfort, function, and resale value. Take the time to understand your options, ask the right questions, and work with a contractor who treats your roof dormer with the same care they would give their own home.
Frequently Asked Questions About Roof Dormers
What is a roof dormer?
A roof dormer is a structural element that projects outward and upward from a sloping roof, typically housing a window and creating additional headroom or living space inside the home. It is built as part of the roof structure itself rather than added onto an exterior wall, making it both an architectural feature and a functional space-creation strategy. Roof dormers come in several shapes, including gable, shed, hip, and eyebrow configurations, each suited to different home styles and renovation goals.
What is a gable vs dormer?
A gable is the triangular wall section formed at the end of a ridged roof, while a dormer is a separate roofed projection that extends from the slope of the main roof. A gable dormer is a specific type of roof dormer that incorporates a gable-shaped roof above the protruding structure, which is where the terminology overlap creates confusion. In simple terms, a gable is part of the main roof’s end wall, while a roof dormer is an addition that breaks through the roof plane to create space or light below the ridge.
What color roof increases home value?
Neutral and timeless roof colours such as charcoal grey, slate, and weathered wood tones consistently perform well at resale and are considered the safest options for increasing home value across Canadian markets. These tones complement a wide range of exterior paint colours and siding materials, which means they appeal to the broadest pool of potential buyers. Dark charcoal, in particular, has strong appeal in Manitoba because it assists with snow melt during winter months, adding a practical benefit to its aesthetic value. Bright or highly contrasting roof colours tend to polarize buyers and can limit your market.
How much does a new dormer roof cost?
The cost of adding a roof dormer varies significantly based on size, type, structural complexity, and finishing requirements, so for accurate pricing tailored to your home in Winnipeg, reach out to Zega Roofing directly for a detailed estimate. Factors that influence the final cost include whether your attic uses truss or rafter framing, the type of dormer selected, the materials chosen for roofing and windows, and whether interior finishing is included in the scope.
What are the common problems with dormer roofs?
The most frequent issues with roof dormers include flashing failures at the wall-to-roof intersections, ice damming in the valleys where the dormer meets the main roof, window frame leaks from failed caulking, and inadequate insulation leading to heat loss and condensation. Because a roof dormer has multiple transition points where different roofing planes and wall surfaces meet, each of those intersections is a potential entry point for water if not properly sealed and maintained. Regular seasonal inspections catch these problems early, before minor flashing gaps or sealant cracks develop into significant water damage inside the home.